Essendo una delle migliori alternative a Microsoft Office nel 2021, WPS Office è pienamente compatibile con le principali distribuzioni Linux, tra cui Ubuntu e Linux Mint. Scaricalo ora per provare le ultime funzionalità di WPS Office per Linux.
Suite per ufficio completa e gratuita
Writer , Spreadsheet , Presentation e PDF Toolkit possono aiutarti a risolvere i problemi durante la visualizzazione e la modifica dei tipi di documenti più comuni. Inoltre, il piccolo ma ricco di funzionalità PDF Toolkit può aiutarti a convertire facilmente i file tra PDF e file Word, Excel, PPT e immagini.
Compatibile con vari formati di file
WPS Office supporta i formati di documento più comuni. I quattro componenti di WPS Office aumenteranno la produttività nell'elaborazione di testi, nell'analisi di dati e nella creazione di animazioni.
Pacchetto debPacchetto RPM

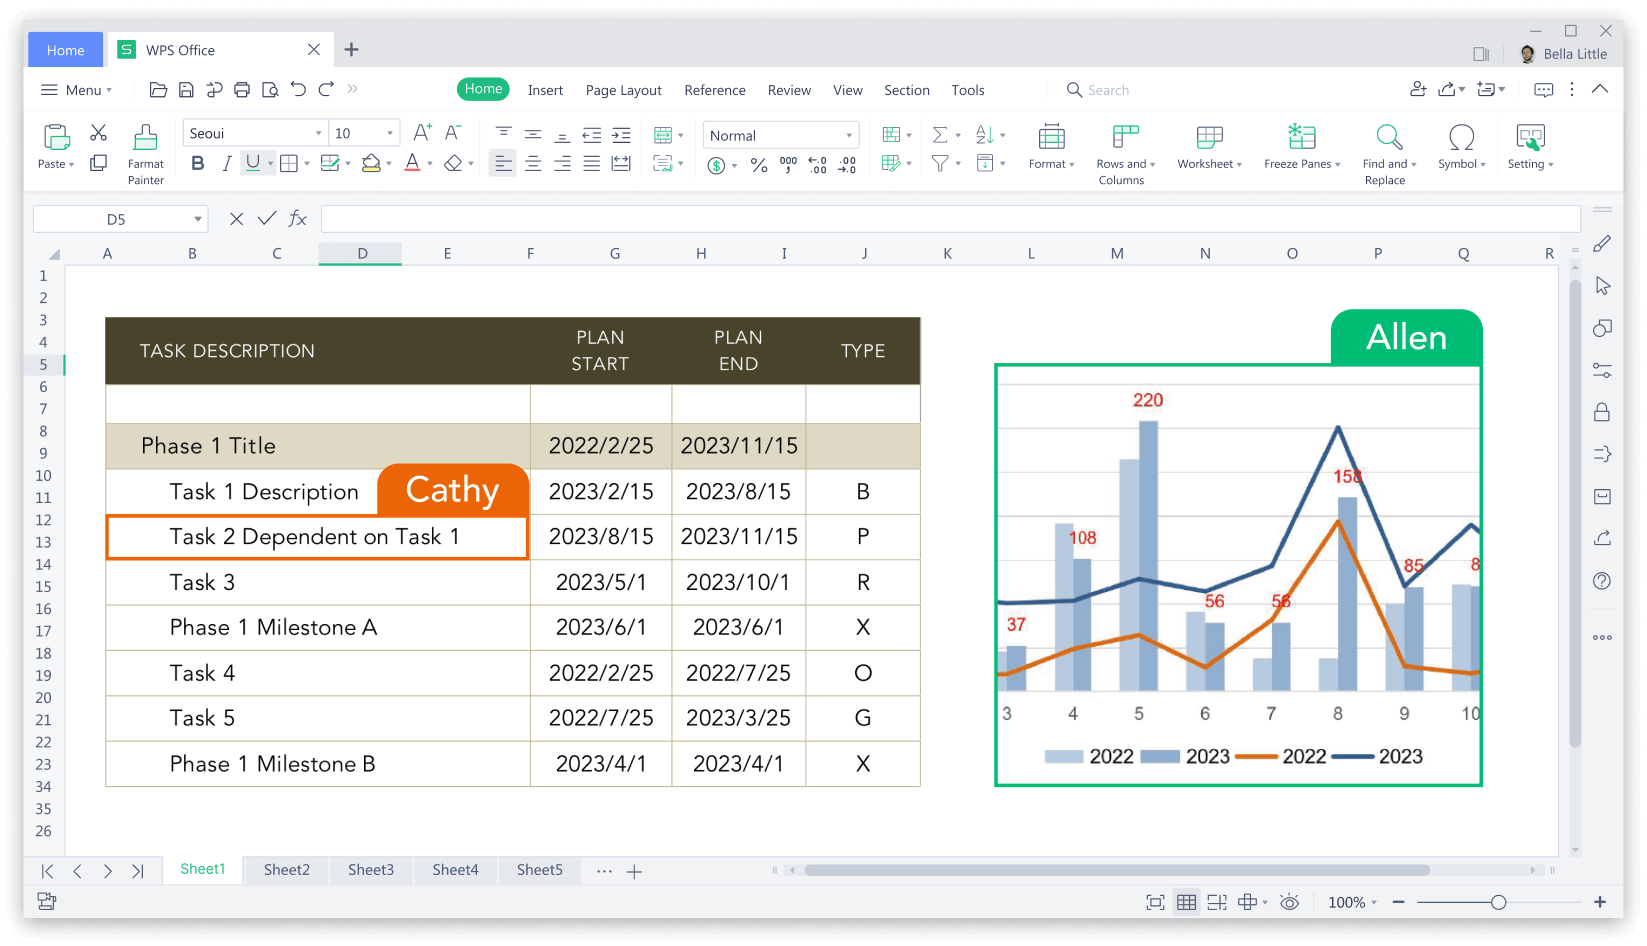
Ottima app gratuita per la produttività
Writer offre soluzioni potenti per la configurazione di layout grafici e testuali. Spreadsheet offre un motore di calcolo preciso ed efficiente. Presentation offre animazioni professionali e accattivanti modelli online . Scarica subito l'ultima versione gratuitamente per sfruttare le sue funzionalità su Ubuntu e Linux Mint.
Pacchetto debPacchetto RPM


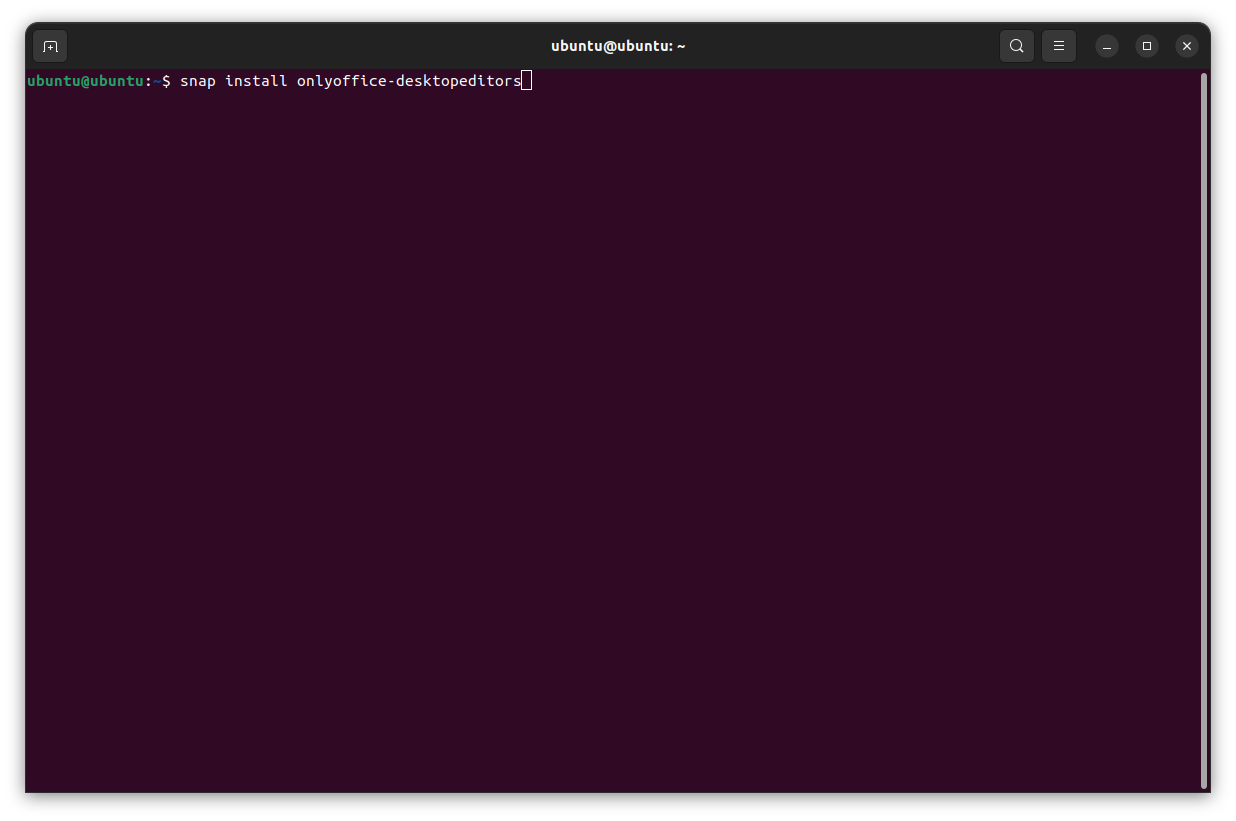
 Nota: Software Center potrebbe trovare due app ONLYOFFICE. Scegli quello chiamato onlyoffice-desktopeditors.